DigitalOcean Droplets are Linux-based virtual machines (VMs) that run on top of virtualized hardware. Each Droplet you create is a new server you can use, either standalone or as part of a larger, cloud-based infrastructure.
This guide assumes you already have a DigitalOcean account, If not you can create one here.
Create a droplet
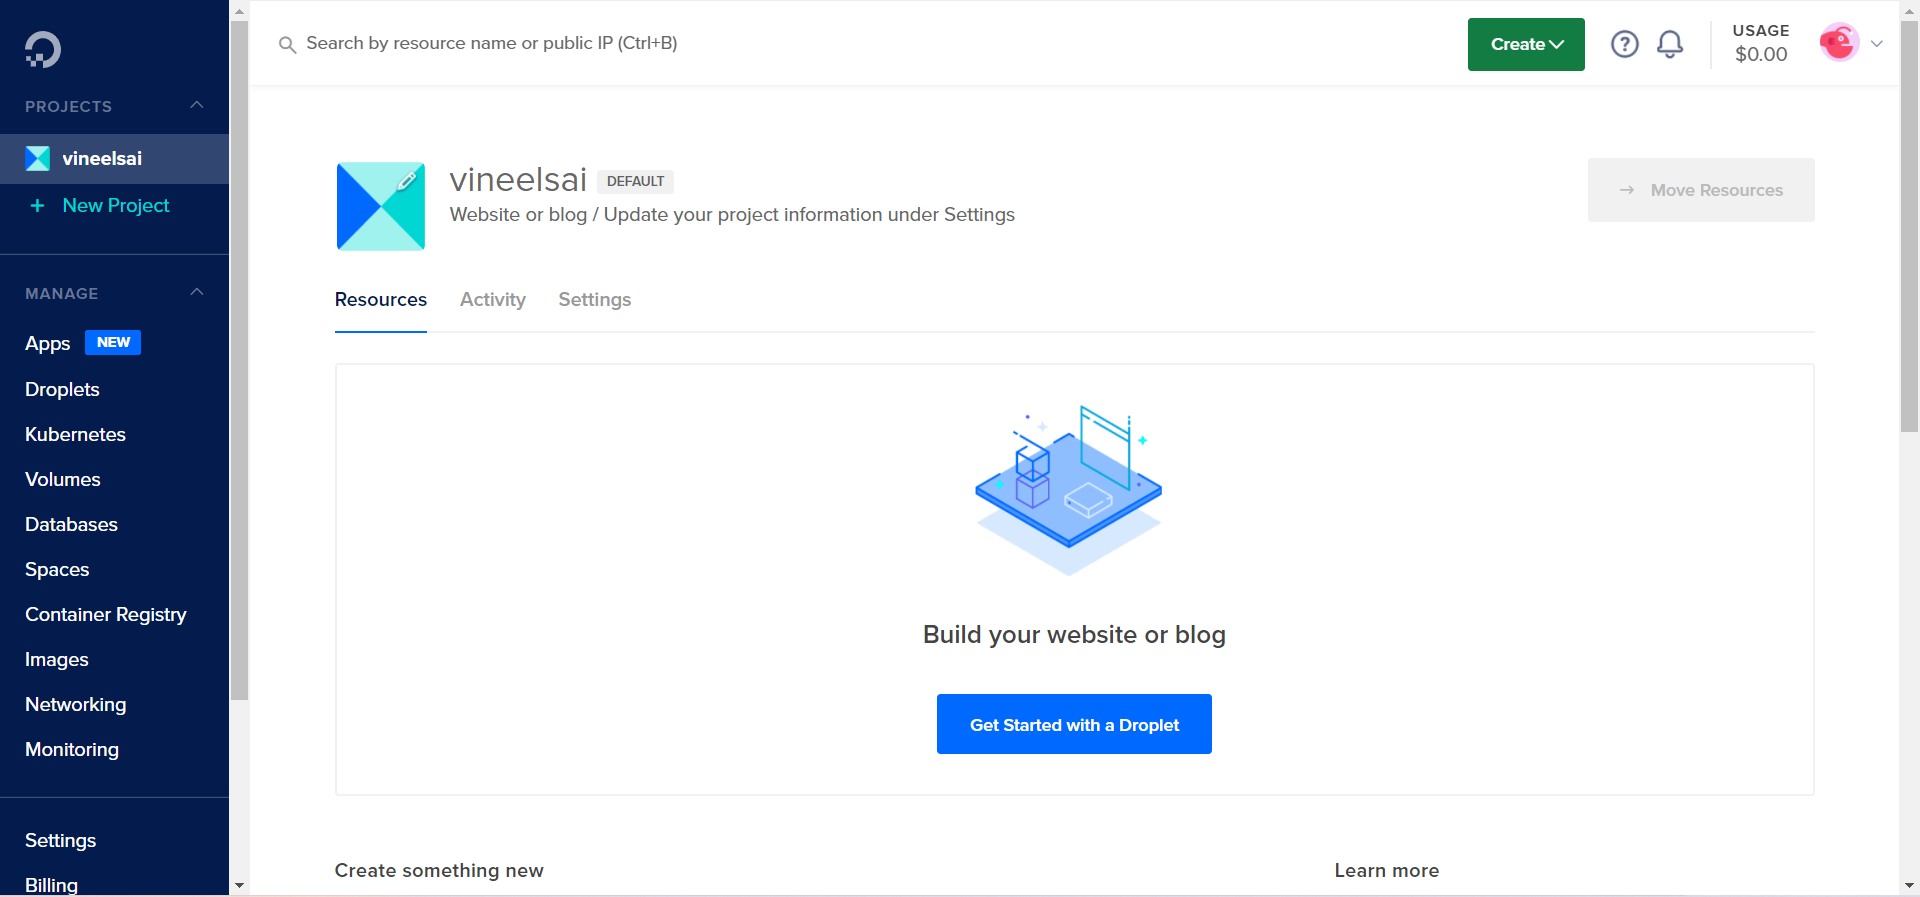
- Go to DigitalOcean Project Dashboard and click on Get Started with a Droplet.
- Then choose the image you want to use, in my case, I chose Ubuntu 20.04.
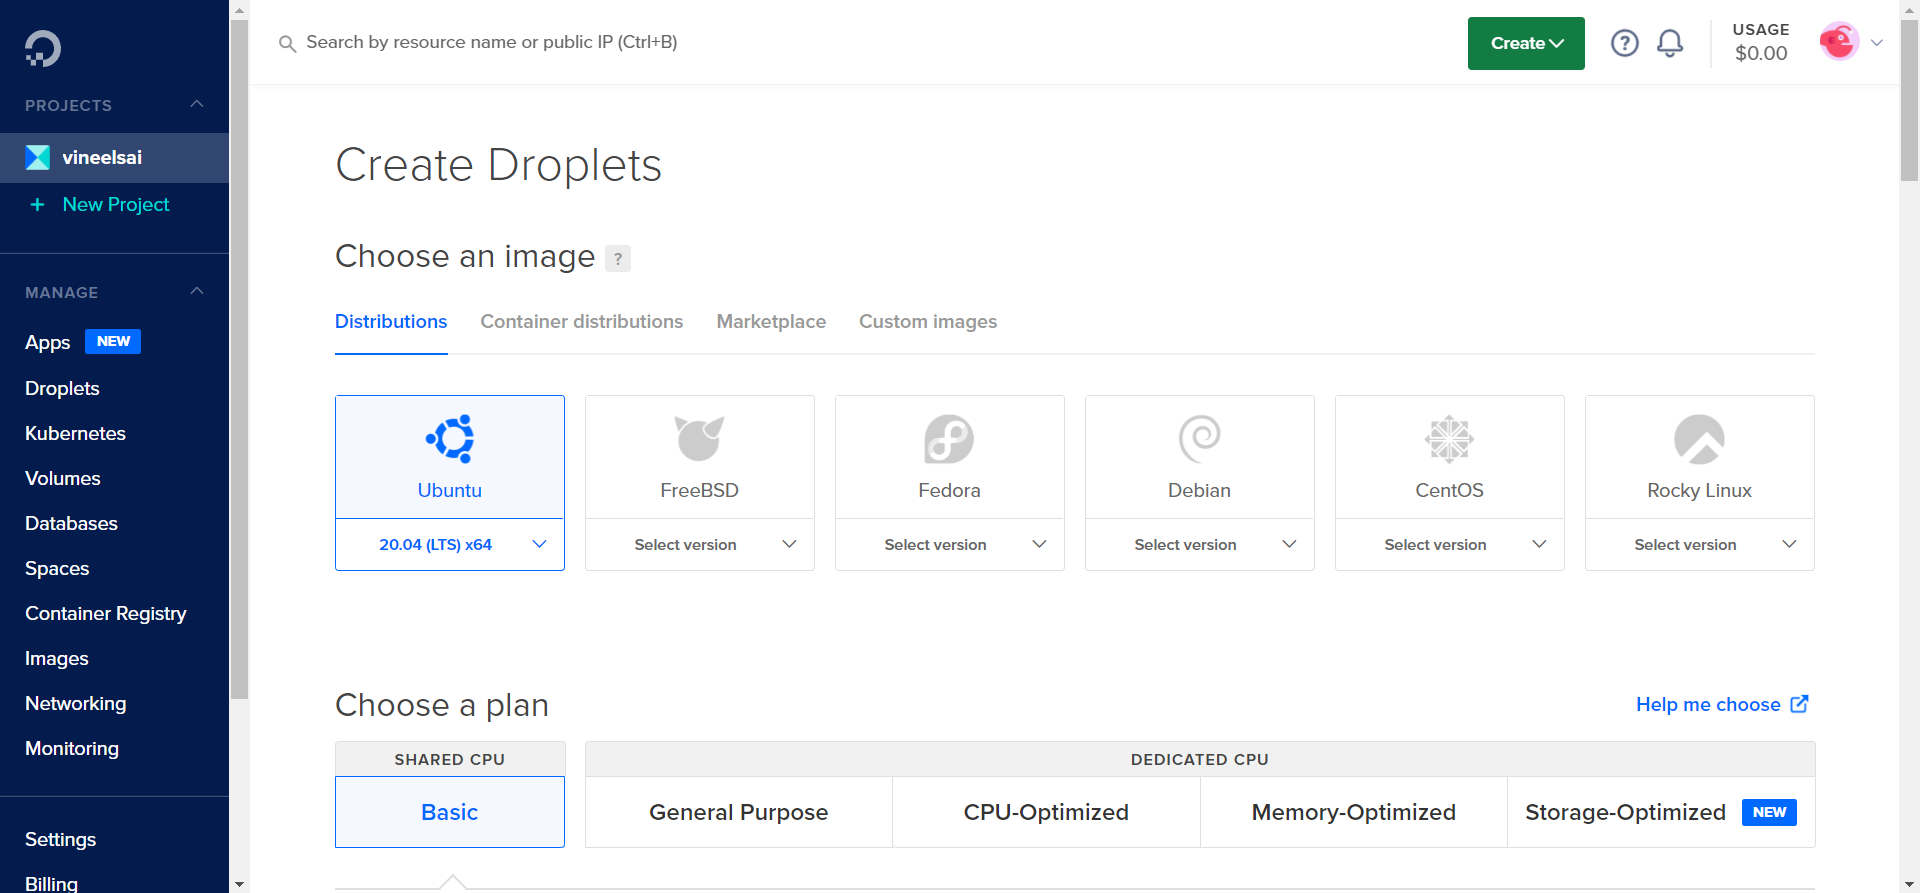
- Then choose the size of the droplet you want to create, I am going with 1GB, $6/month droplet.

- Then choose the region you want to create the droplet in, I am going to use Bangalore since it’s nearest to me.

- Now enter a password for the droplet, don’t lose it! You will need it later to connect to the droplet.

- Then enter the hostname of the droplet, I am going to use ubuntu.

- Finally, click on Create Droplet.

- Now wait for the droplet to be created, this usually happens in under a minute.

Connect to the droplet
- Once the droplet is created, copy the IP address of the droplet and open the terminal in Linux or PowerShell/CMD in windows and use the following command to connect to the droplet.

| |
- You will be asked to type “yes” to add the SSH key to the droplet and then you will be asked to enter the password for the droplet.

- Now you are connected to the droplet and you can start doing things you want to do.